


HOW TO ORDER WOVEN LABELS ON LABELOOM
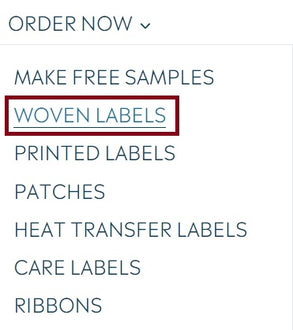
Ordering custom woven labels has never been easier thanks to Labeloom. On the front page click on "ORDER NOW" and select WOVEN LABELS from the available options.
On the net page you can start customizing your order in just few steps. The price of your order is automatically adjusted accoridngly to your customization.
STEP 1 - UPLOAD YOUR CUSTOM WOVEN LABEL DESIGN
We recommend to upload a file that is at least 300dpi. We prefer to receive PDF file but we also accept PNG, JPG, JPEG, and PSD ones. No need to worry if you your artwork is not ready yet; you can send it by email later to info@labeloom.com.
STEP 2 - SELECT YOUR ORDER QUANTITY (PCS)
With the help of the slider you can select how many pcs of custom woven labels you want us to produce. The available range is from 300 pcs up to 20,000pcs. Our MOQ (Minimum Order Quantity) of 300pcs is fixed; however if you need to produce more than 20,000 labels you can contact us through our by whatsapp or by email. We have the ability to produce up to 1,000,000pcs wo woven labels daily! No order is too big for us :)

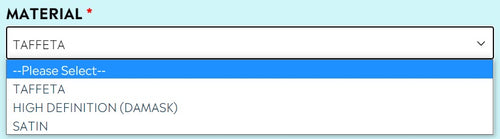
STEP 3 - SELECT THE MATERIAL FOR YOUR WOVEN LABEL
If you are not sure which material suit best your woven labels (Taffeta, Damask or Satin), you should have a look at our two blog posts where we explain the difference between the different types of woven label. Click here to learn more.
STEP 4 - SELECT MEASUREMENT UNIT AND LABELS SIZE
Simple enough, just select whether you prefer to use CM or INCH and then specify the width and the length of you labels. Remember that you should include any sewing allowance in the total dimension of you custom woven labels. In case you don't know, sewing allowance is the distance between the edge of a label and the stitching that will be used to attach the label to your garment.

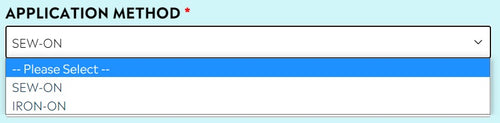
STEP 5 - APPLICATION METHOD
Woven labels can be applied on garments in two ways: SEW-ON or IRON-ON. If IRON-ON is selected, a special ' adhesive layer' is applied on the backing of your labels.
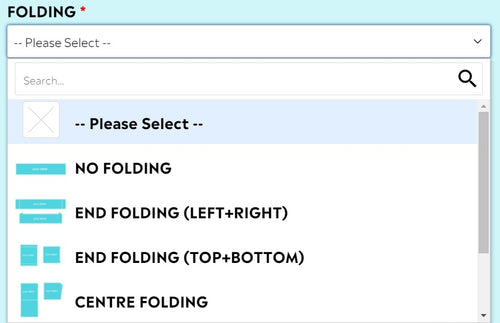
STEP 6 - FOLDING
Select how you want your labels to be folded: CENTER FOLDING, EDGE FOLDING, HANGER LOOP, or NO FOLDING.
STEP 7 - CUTTING
As explained in details in this blog post, the cutting method can affect how smooth and soft your labels are. With the STANDARD cutting technique, the labels are cut directly from the weaving machine. Meanwhile with ULTRASONIC cutting, the weaved label roll is move to an ultrasonic machine where the labels are accurately cut. Ultrasonic cutting allows for smoother and softer labels' edges.

STEP 8 - ADDITIONAL INFORMATION
Complete your form if any additional information that might be relevant to your labels such as PANTONE colors to be used for the background, design or words as well as any special yarn requirement (Golden or metallic yarn for example). Production will take approximately 15 working days but we are usually faster than that!!
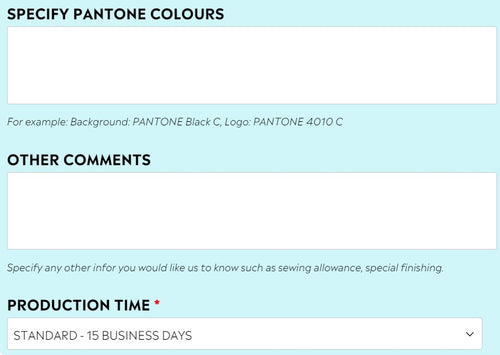
STEP 9 - ADD TO CART AND COMPLETE YOUR PURCHASE
Once you have double checked all the labels features, click ADD TO CART and proceed to payment to complete your purchase. We accept PAYPAL as well as credit card payments through the Shopify API.